
Before you can start building any WordPress website, you need to install WordPress on your hosting account. The process for every hosting account is more or less the same, but there are a few differences between them. Siteground, in particular, has recently updated its dashboard to have a whole new interphase. They have opted to move away from the traditional cPanel experience and for a much more streamlined process.
In this article, I’ll cover how to install WordPress using this new SiteGround Client Area & Site Tools. And just to be safe, I’ll also cover how to install WordPress using cPanel, since it’s possible (and likely) you still have cPanel on your server.
An Overview Of How To Install WordPress Anywhere
Basic Requirements
Before you can install WordPress, you should know the basic requirements. At the time of writing this article, those requirements are:
- PHP 7.3 or greater
- MySQL 5.6 or greater OR MariaDB 10.1 or greater
- Nginx or Apache with mod_rewrite module
- HTTPS support
SiteGround knocks it out of the park with each of those, giving you access to much more than the bare minimum. This isn’t something all hosting providers do. In fact, many of my customers that are still on very popular hosting platforms don’t have PHP 7.3 access – that’s terrible.
Your WordPress install will technically still work on PHP versions as low as 5.4, but it will be incredibly slow and many modern themes and plugins simply won’t work anymore.
Overview Of The Process
The quick step-by-step for installing WordPress on any hosting that meets the above requirements can be found on WordPress’s website. I’ve brought that over here for convenience.
- Download and unzip the WordPress package if you haven’t already.
- Create a database for WordPress on your web server, as well as a MySQL (or MariaDB) user who has all privileges for accessing and modifying it.
- Upload the WordPress files to the desired location on your web server:
- If you want to integrate WordPress into the root of your domain (e.g. http://example.com/), move or upload all contents of the unzipped WordPress directory (excluding the WordPress directory itself) into the root directory of your web server.
- If you want to have your WordPress installation in its own subdirectory on your website (e.g. http://example.com/blog/), create the blog directory on your server and upload the contents of the unzipped WordPress package to the directory via FTP.
- Note: If your FTP client has an option to convert file names to lower case, make sure it’s disabled.
- Run the WordPress installation script by accessing the URL in a web browser. This should be the URL where you uploaded the WordPress files.
- If you installed WordPress in the root directory, you should visit: http://example.com/
- If you installed WordPress in its own subdirectory called blog, for example, you should visit: http://example.com/blog/
As you can see, the process is pretty straightforward, but a little technical. Luckily, WordPress has been mainstream now for over a decade, so clever developers have built even easier ways to install WordPress on their platforms.
Using cPanel & Softaculous
Most hosting accounts have a script called “Softaculous” installed. This is, by far, the easiest way to install a WordPress website on cPanel hosting. Simply navigate to the Softaculous dashboard, clicking WordPress, and follow the prompts! Chances are, your hosting account will not only have a link to the Softaculous dashboard in your cPanel, but they will also include a shortcut to the WordPress installer itself.
The Process
Step 1: Find that Softaculous or WordPress Autoinstaller link in your cPanel. Click on it.
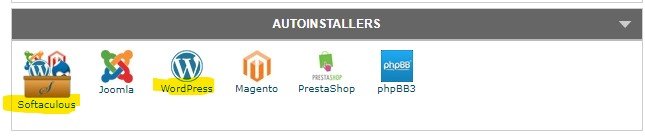
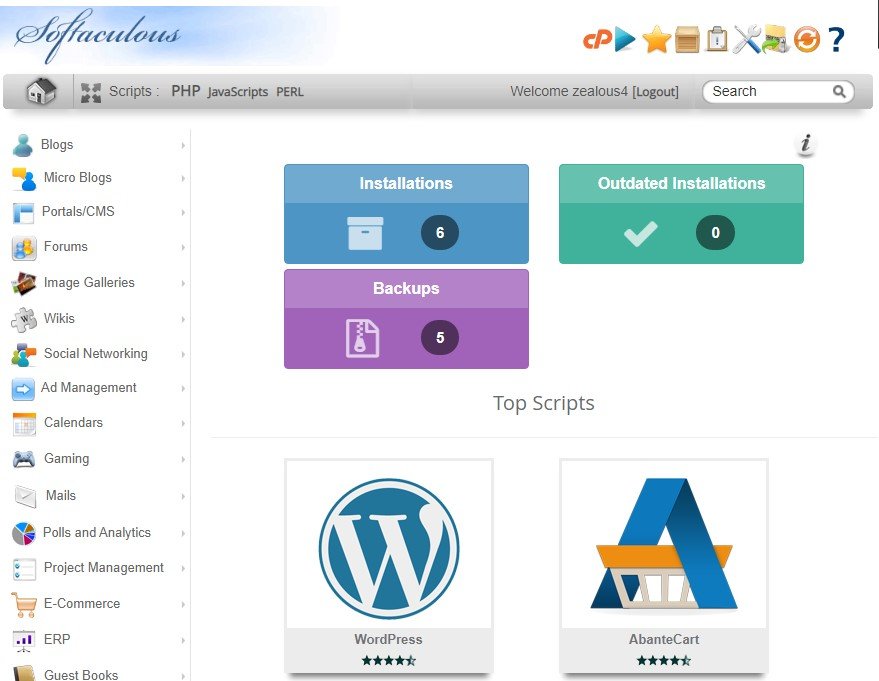
Step 2: If you clicked on Softaculous, find the WordPress script and click on that.
Step 3. You should now see a description of what WordPress is. Simply click the blue install button to keep it moving.

Step 4. You’re almost done! Just fill in the information you need and press install. The information you need here is:
- Installation URL (your domain or subdomain)
- Site name and description (Although you can change these later)
- Admin Account Information (Your login credentials, this also can be changed later)
- You can optionally add a custom database name and password, but if you don’t this script will create one and assign it accordingly.
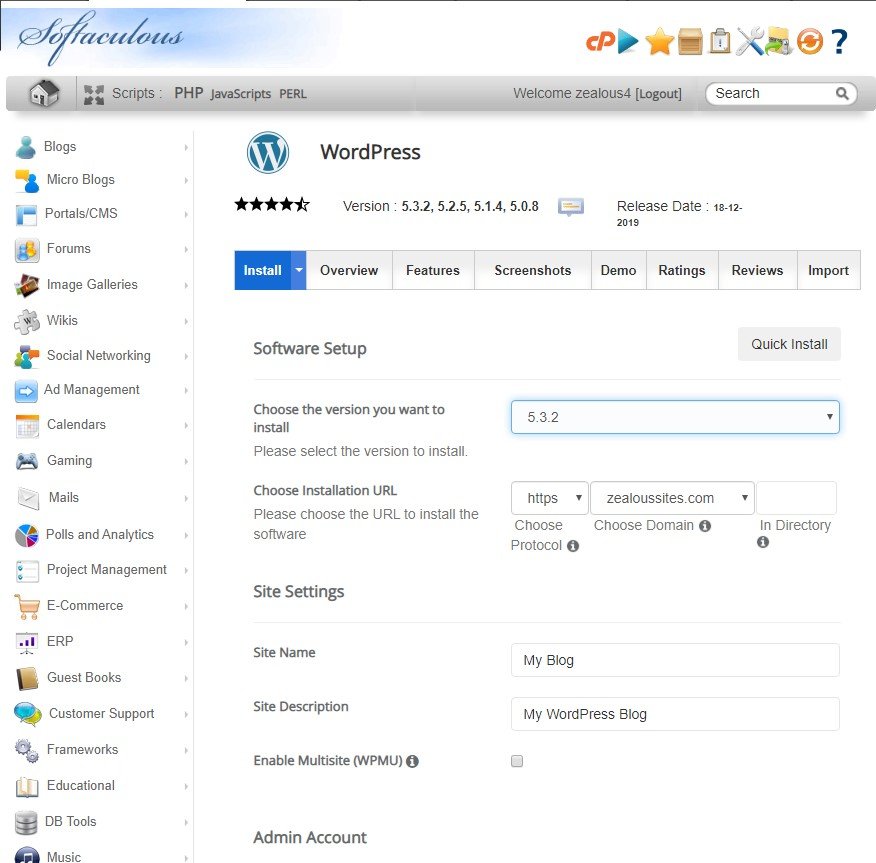
Press install and wait about 30 seconds and you should be good to go! This script will create the database, fill it with all the needed tables and data, upload the WordPress files, install the most recent Twenty series theme (WordPress’s default theme), and let you know when it’s done!
The whole process from start to finish here takes maybe 5 minutes. Maybe a little longer if your server is really slow.
Using SG Site Tools
You might be thinking, “man – that’s pretty quick! Why would SiteGround mess with that process?” And… you’re right to think that. Honestly, I thought the same thing when they first started rolling out their new dashboard. But to be fair, SiteGround’s new interphase is just as easy and much less technical. Also, it’s a way prettier experience.
Today, I prefer the SG Site Tools way of doing things.
The Process
Step 1. Log Into your SiteGround Dashboard.
Step 2. Navigate to the Websites tab.

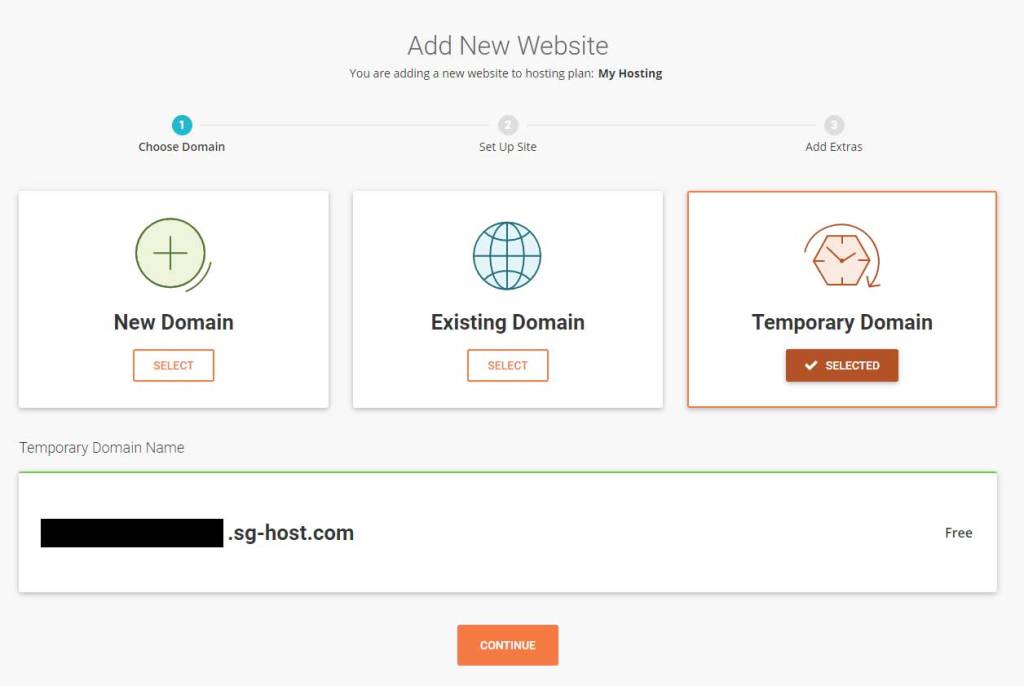
Step 3. Click Add New Site

Step 4. Choose the domain settings. Here you can set it up using a temporary domain, a new domain, or an existing domain. Each has their place, but for this tutorial, I’ll use a Temporary Domain.
Step 5. Choose “Start New Website” or “Migrate Website.” If you’re migrating your website to SiteGround from another hosting account or domain, then choose Migrate Website. Otherwise, just “Start New Website” is correct.
Step 6. Choose the correct application. Since this whole tutorial is about how to install WordPress, I’ll choose that!
Step 7. Fill in some login credentials (email and password).
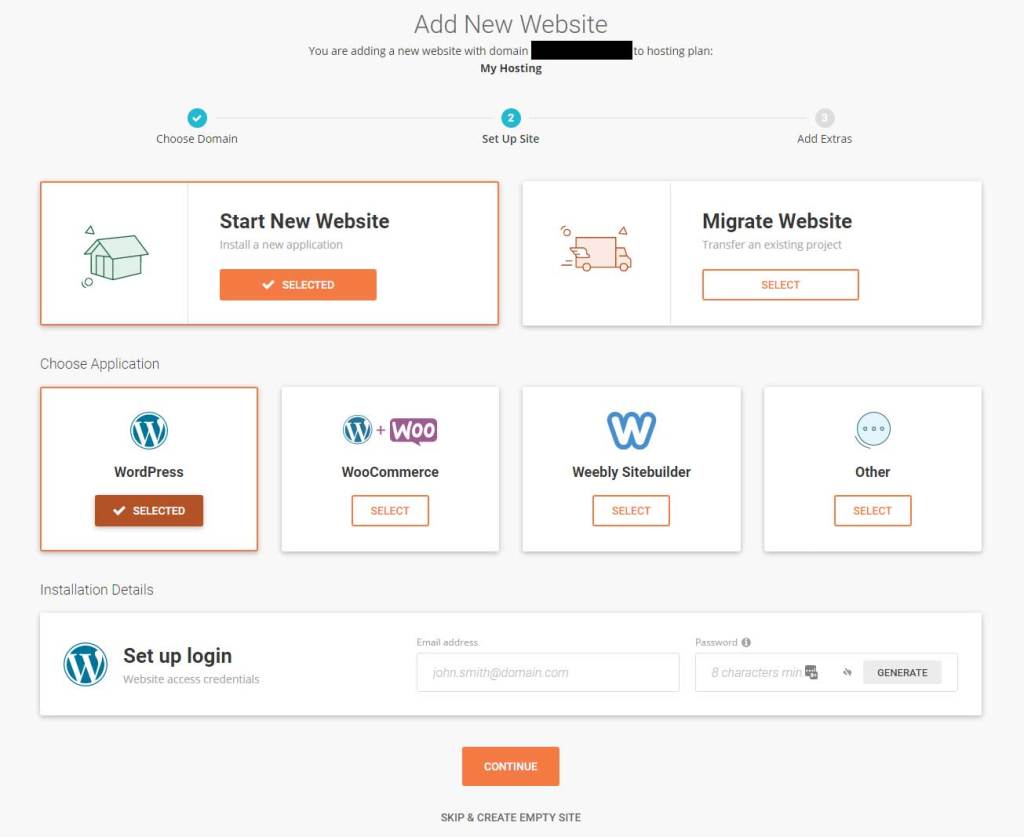
Step 8. Add additional features (optional). Honestly, I’ve been doing this a long time and I don’t know if I’ve ever added additional features. This is kind of like when you’re checking out at the grocery store and there’s candy right there. You didn’t want that candy 10 minutes ago, but now that you see the candy you decide you’ll buy it. You can do that if you want, but you really don’t need to.
Step 9. The orange “continue” button will be replaced with an orange “finish” button. Press that finish button! The installation will take a couple of minutes, and then you’ll be able to access the new SG Site Tools dashboard for that website.
From your new SG Tools dashboard, you can do things like add email addresses, check IP, set up speed tool settings, etc. Essentially, everything you would have previously done in the cPanel is now done in the SG Tools dashboard for each individual domain.
That’s all I’ve got for now!
SiteGround has been an incredible hosting platform for me over the years. I think that I really lucked out when I found out about it after moving away from the super cheap (and garbage) hosting platforms I used to usyoure. If you’re not already on SiteGround, please consider making the switch. You’ll love the new tools you’ll get, and you will absolutely notice a difference in page speed.
Please consider using one of the links on this page to find out more about SiteGround. I am an affiliate of SiteGround, so if you do end up purchasing an account with them, I will receive a small compensation for sending you their way. If you don’t want to support me in that way, then simply Google SiteGround instead to find their website. My goal on this blog is not to make a sustainable income from affiliate links, but to inform you on what’s working for me and Zealous Sites.
However, what I do make a living on is building websites! If you’re a business looking for a new website, please consider reaching out to Zealous Sites for that! If you’re a web agency looking for more contractors, I do that too! :)