Every website, from large corporations’ like Google.com or Nationalgeographic.com to small resume websites all have something in common: a footer. A website without a footer is really uncommon because it is the footer that finishes off the page neatly. To end a page without a footer not only looks odd to us but is a jarring user experience no-no. In this article, I’ll cover what exactly is a footer and how do you create one that doesn’t suck in Divi?
What Is A Website Footer?
A footer is the final section of a web page. It is home to items that should be on every page and often include a lot of important navigational items, legally-required links, and ways to contact and interact with the company. Footers can be very short, like Google’s current footer, they can be incredibly long (like our footer), or they can be anywhere in between.
At the end of the day, your footer should match your brand. It’s possible that your website page footer will be the last thing someone sees before they close that tab in their web browser. With that in mind, making sure it leaves a good impression is critical.
What Should You Put In Your Footer?
There are certain items that absolutely should be in a footer. Let’s go over them!
Copyright, Terms, Privacy Policy
The legal mumbo-jumbo. Your copyright, which usually is just dictated by a © followed by the current year and your business name, is the easiest to put in there. And you can make the year dynamic with a dandy shortcode.
Current Year Shortcode
Add the following PHP to your functions file of your child theme.
<?php
function year_shortcode() {
  $current_year = date('Y');
  return $current_year ;
}
add_shortcode('year', 'year_shortcode');
?>
Then you can use the [ year ] (without the spaces) shortcode to dynamically display the current year in any Divi Page Builder or Theme Builder module.
Terms & Policies
In addition to the Copyright, you also probably want to have Terms and Policy pages in your footer. These are for things like “We DO this. We DON’T do that.” etc. Legal stuff. And you’ll want that legal stuff because of bills like the CCPA and GDPR, which both require certain items to be stated on your website and require certain guidelines to be followed by the code-creators.
Basic Sitemap or Navigation
It’s a good idea to give your users a way to get around your website. Not everybody uses sites the way you’d expect, so giving the user a few options is a pretty safe bet.
Many websites put full sitemaps in their footer, giving the users a single-click to navigate to any page on the website. In my opinion, this is the way to go for any website with may pages or blog categories.
Phone Number or Contact Information
Your phone number, or a way to contact you, is a crucial part of any successful website. It should be clear how to reach out in a few places on the page, but a great rule of thumb is that it must also be in the footer.
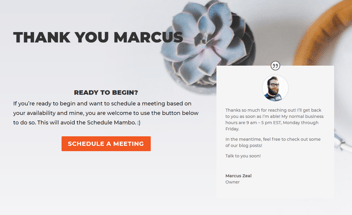
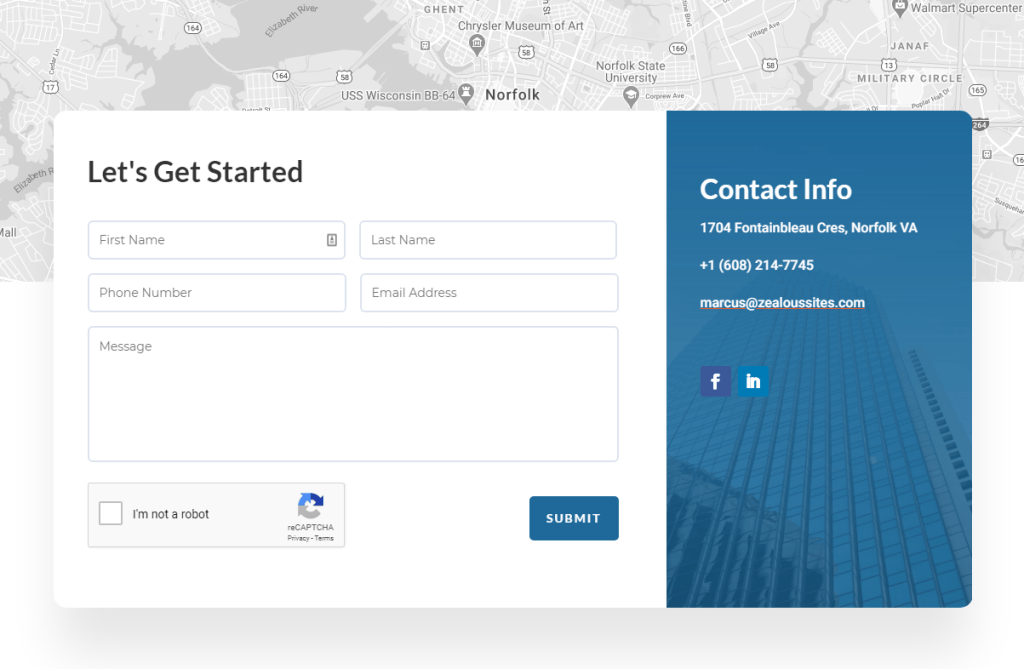
On my website, that’s in the form of a giant animated contact form with contact information to the right and social media links.
A Call-To-Action
It’s not a bad thing to over-communicate to your audience. If you want the user to call you, put your number down with a button that says “Call Me.” If you want your user to email you, make that button say “email me.” Or maybe you’d prefer that they fill out your web form? In that situation, you’d probably put a button that says “Get Started” or something along those lines.
These Call-To-Actions are ways that you are directly speaking to your audience. They give clear instructions that help the user know what to do next.
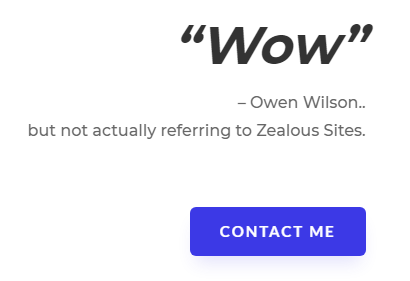
For Zealous Sites, this comes in the form of a “Contact Me” button under that meme-culture “Wow” quote.
Social Media Links
This one is pretty self-explanatory. If you have multiple social media pages like Facebook, LinkedIn, Google Places, Twitter, Pinterest, etc; then you are going to want to showcase those on your website. This just gives the user another way to interact with you.
Start With A Great Design & Theme
Any banging website element begins with an incredible design. If you have an eye for design and the appropriate tools, then you could make this in Photoshop! If you don’t have the tools, or you just would prefer to build it with the Theme Builder and see what you can do there, that’s fine too I guess.
The thing is, having an idea of what your goal is visually is always going to save you time in the long run. And I’ve found that websites just look better if they start with a great design.
If you really don’t have time for a design, then you should definitely check out the Divi Layouts page. There are tons of free importable divi layouts that you can grab elements from. These are all pretty great design-wise, and will ultimately do the trick if you’re in a hurry!
And as far as a theme is concerned, you should absolutely consider Divi. It’s incredibly powerful, easy to use, and if you buy it from my affiliate link I’ll be able to buy an extra enchilada. :)
How Do You Create The Footer So It’s On Every Page?
The Old, Long-Hand Coded Way
In the past, you would do this in the Footer.php file. Your theme would grab that file and display it on every page. You could build using HTML, CSS, PHP, etc and it would output as you’d expect.
In fact, if you don’t have Divi, or you have a very old version of Divi, then this is still how you’ll probably build your theme footer. There’s nothing wrong with doing it this way. It gives all the freedom you could ever want as long as you know how to code. But if you don’t know how to code, this is going to be a challenging endeavor.
Enter Divi Theme Builder
Today, there’s a better way to build a theme footer: the Divi Theme Builder. Using this incredibly powerful tool, you can create a Divi Layout that is displayed on every page.
The Divi Builder will give you the freedom you’re looking for with very few limitations.
This is how I build nearly every new website and it has made my life a lot easier.
How To Create A Footer With The Divi Theme Builder
Step 1 is to install Divi. If you don’t own Divi yet, you can pick it up here from my affiliate link. I personally recommend the lifetime subscription as that is what I did back in 2012 and it has paid for itself so many times by now. You can also try the page builder for free here.
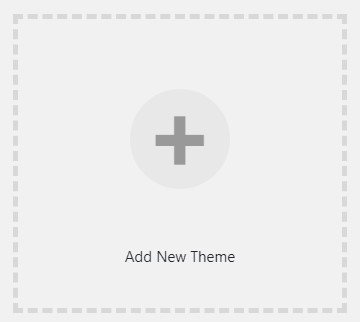
- Once you own a copy of Divi, go to Appearance > Themes in your WordPress Dashboard and click “Add New Theme.”
- This will take you to a page with many free themes to choose from. You don’t want any of those. Click “Upload Theme” at the top.
- A file upload box should have appeared above all those free themes. Click “Choose File” and navigate to your downloads file to upload that Divi.zip file.
- Once that’s installed, you’ll need to activate it.
- At this point, your entire website is now being powered by Divi.
Divi out of the box isn’t anything too impressive visually. It’s the features it brings and the flexibility it gives you that really makes this theme by Elegant Themes shine.
So if you’re not impressed right now by your vanilla Divi theme, that’s okay. You can check out a lot of the free Divi Page Layouts available from Elegant Themes, and import them directly to your site to get at least a good starting point for a website. And if you want something more custom, which you likely do, please reach out to us and we can make that happen!
CREATE THE DIVI Theme TEMPLATE
By this point in the tutorial, you should have a good idea of what you want the footer to look like. Now it’s time to dig into the Divi Theme builder to create your custom template!
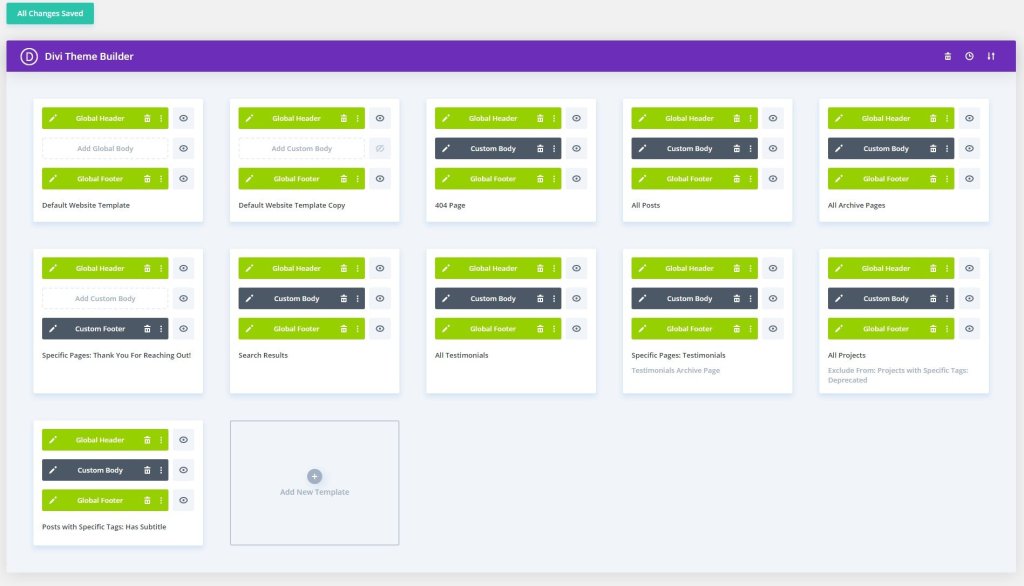
- From your dashboard navigate to Divi > Theme Builder
- The Divi Theme Builder is an incredibly powerful tool. You can use it as much or as little as you like within Divi. But from here, we’re going to create a new template.
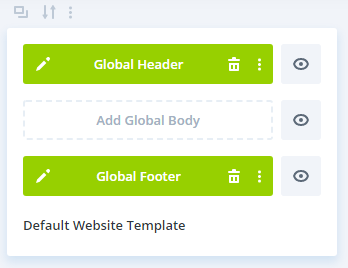
- Since we are builder the footer here, you’ll just edit the Global Footer module in the Default Website Template.
- Click the pencil icon on the Global Footer module.
- The Divi Builder will pop up. You are likely already familiar with the Divi Builder, but if you aren’t there is tons of documentation on that. And there is even a considerable amount of documentation on the theme builder itself.
- Use the sections, rows, and modules to create your perfect layout! You can even use dynamic modules!
- Once you’ve created your vision, press save in the Page Builder (bottom right) and then save again in the Theme Builder (Top Left).
That’s It!
That’s it! Making a theme footer using the Divi Theme builder is a painless experience for everyone involved. The hardest part is going to be coming up with the right design and making sure you nail it! If you’d like to expand the theme builder’s functionality, even more, consider my post on adding Advanced Custom Fields to the Divi Theme Builder. With that, you could do some even impressive designs!
So if you found this article helpful, please leave a comment below! If not, let me know that too so I can make it better! If you or someone you know needs a website built, consider using Divi! And if you’re ready to hire a professional to do, consider hiring us! We’d love to help you reach your marketing goals this year!